Backup Guide

Modified 4 March, 2024

Hello!

Welcome to the guide for how to set up your NVA backup device. If you are reading this, that means you have received a backup set from Adroit Technologies LTD. This guide will provide you with a step-by-step process on the setup of this device.

Step 1: Unpacking

Unpack your box, and make sure you have all elements neatly laid out and easily accessible. Before we begin the setup process, please ensure you have the following items included in your box: 

Lenovo ThinkCentre M75q Gen 2 
OR ThinkCentre M70q Gen 4
WD My Book 6TB
WD USB 3 Cable

WD Power Adaptor

Lenovo Keyboard

Lenovo Mouse

Lenovo Power Adaptor

Lenovo Power Supply Brick

Lenovo WIFI Dongle

Network Patch Cable

HDMI Dummy Dongle

DisplayPort Dummy Dongle

Step 2: Identify Your Setup 

Before you begin installing any devices, you want to first locate the server and switch. Once this is located, you want to ensure there is an open port to attach the backup computer. Once this port is located, you also want to be sure there is a surge protected power source that has open outlets for both the backup computer, and the external hard drive. 

Locate your server

Find an empty port on the switch

Finally, you want to find an out-of-the-way and safe location to store the server and external hard drive. It should be somewhere where it cannot be bumped, jostled or accidently unplugged. Please perform the rest of the setup with the backup computer and hard drive in this location. 

Step 3: Connect the Device 
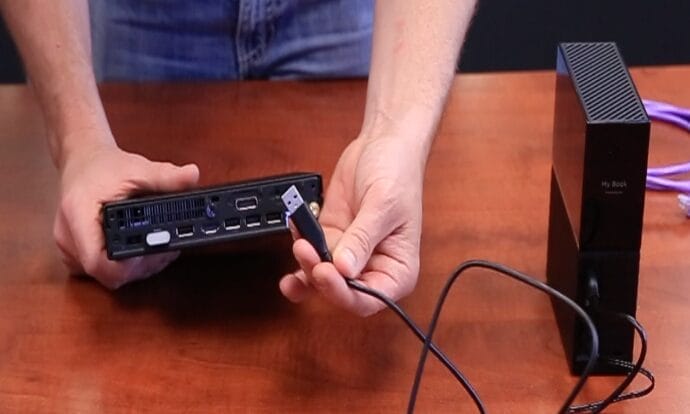
To begin, this step should be performed with the device POWERED OFF. This is so that we can ensure everything works correctly on first system boot. 
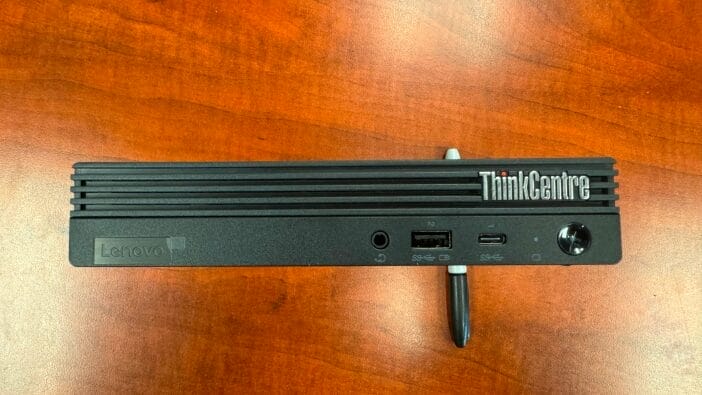
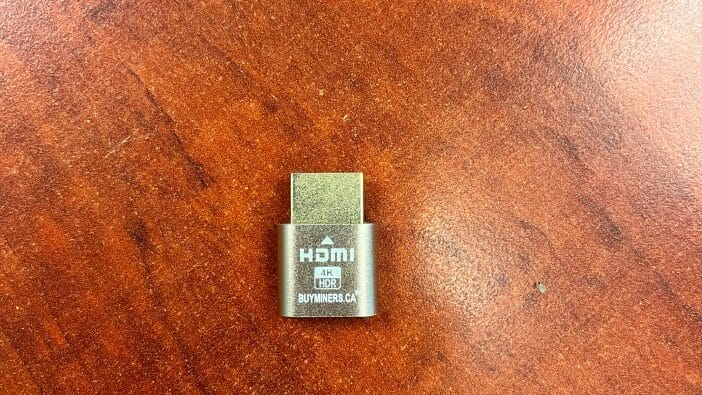
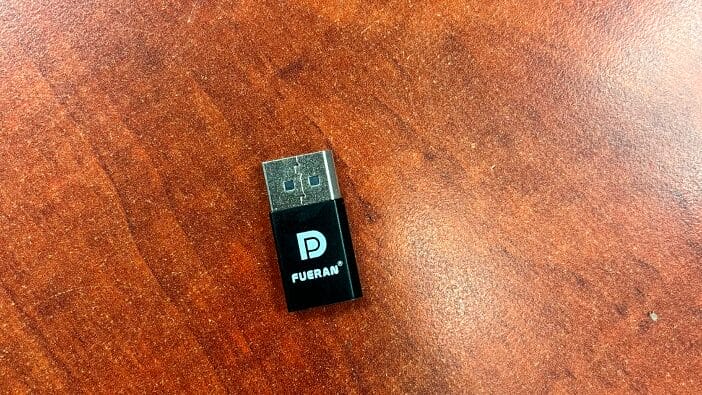
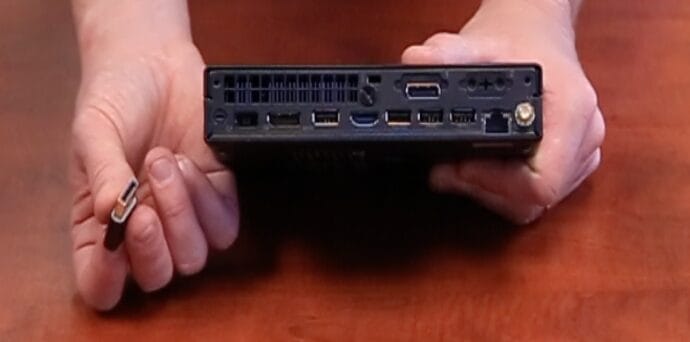
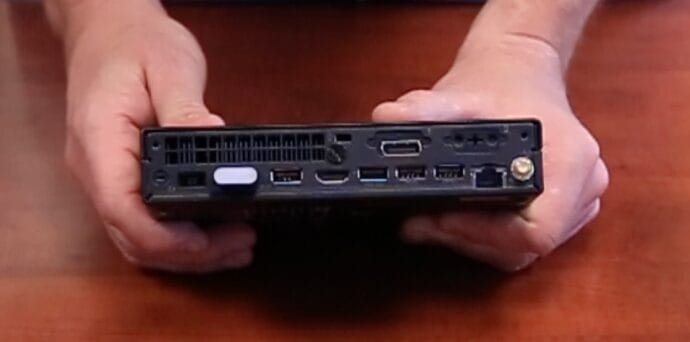
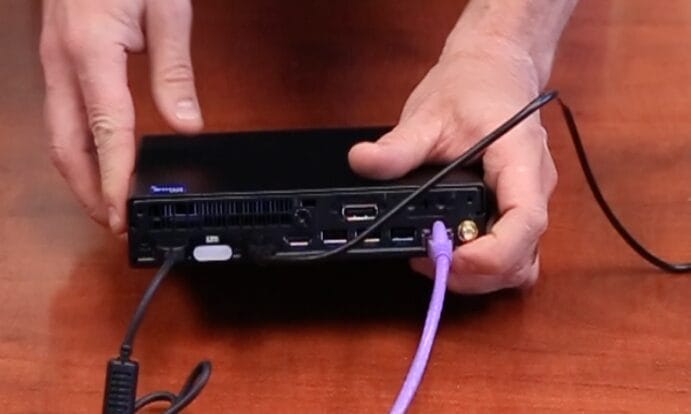
Step 3.1: Connect The DisplayPort & HDMI Adapters
Connect the wireless HDMI & DisplayPort adapters, this will allow us to remote into the device as we need. We are using two different connections for redundancy. Find an available port in the back of the backup computer, and plug it in. If the adapter fits the port, it is the correct port. It is impossible to plug it into an incorrect port. 

Find the port

Plug in the adapter

Step 3.2 – Connect The USB cable to the hard drive 
Take the USB end of the cable, and plug that into the backup computer. Then take the other end of the USB cable provided and plug it into the external hard drive. 

Locate any available USB port

Connect the hard drive

Step 3.3 – Connect The Power Cables (BUT NOT TO OUTLET) 
Connect the power cables to the back of the backup computer and external hard drive, but do not plug in these power cables to the outlet yet. 
Step 3.4 – Connect to the Network 
Take your network cable, and plug one end into the backup computer and the other into the available port you identified on the switch. 

Connect the network to the computer

Connect to an open port

Step 4: Power On The Device 
Once you have verified that everything is correctly connected, it is time to power on the device. 
Step 4.1 – Plug In the Hard Drive 
The first thing you need to do is plug in the power cable for the external hard drive, to ensure it is running when the computer boots up. Most hard drives will begin running automatically, without the need for a power button. 

Feel the hard drive for activity

Step 4.2 – Plug in the Computer 
Next, you need to plug in the backup computer. The computer may be configured to power on automatically when plugged in. If that is the case, you should see the power button on the front of the computer turn white, and then the ThinkCenter logo should light up with a red dot. If it does not turn on automatically, press the power button on the front of the device. 
Power indicators highlighted

Step 5: Verify the Connection 

Once the device is powered on and connected, you can verify the connection by checking the activity lights. There will be a hard drive activity light active on the backup machine, as well as a network activity light. If both of these are on/blinking, that means everything should be connected correctly. You can check the light above the port you are using on the switch as well, and this will further confirm the connection. If everything is active, then all you need to do is notify Adroit Technologies that the backup computer is active. 

Check for activity light

Check for activity light

Diagram

Contacting Adroit Technologies LTD. 

Once everything is active, please notify us so we can begin on the rest of the work. You can reach us by email or by phone: 

(250) 828-1198 OR helpdesk@atws.ca

Additionally, if you run into any issues during this process, call us for troubleshooting support.